A Comprehensive Guide to Decorating Cookies: Tips, Techniques, and Ideas
Decorating cookies is a delightful way to express creativity and add a personal touch to your baked goods. Whether you're preparing for a special occasion, a holiday, or just looking to have some fun in the kitchen, beautifully decorated cookies can impress and delight everyone. In this comprehensive guide, we'll cover everything you need to know about decorating cookies, from essential tools and techniques to creative ideas and tips for perfect results. Let's dive in and make your cookies not only taste amazing but also look spectacular!
Essential Tools for Cookie Decorating
Before you start decorating, it's important to have the right tools on hand. Here are some essentials that will make the process easier and more enjoyable:
- Sugar Cookie Recipe (scroll down or click for full blog here): We'll share a family-secret recipe for delicious sugar cookies, below!
Cookie Icing Recipe (Scroll down): Try out Ed and Holly's royal icing recipe, too! We only use one consistency for both icing and flooding when decorating cookies.
Cookie Cutters: A variety of shapes and sizes will allow you to create cookies for any occasion. Popular shapes include hearts, stars, circles, and holiday-themed designs.
Piping Bags: Piping bags (disposable or reusable) and you can also use a variety of tips (round, star, leaf, etc.) which can be essential for precise icing application. However, we don't utilize tips for our cookie videos.
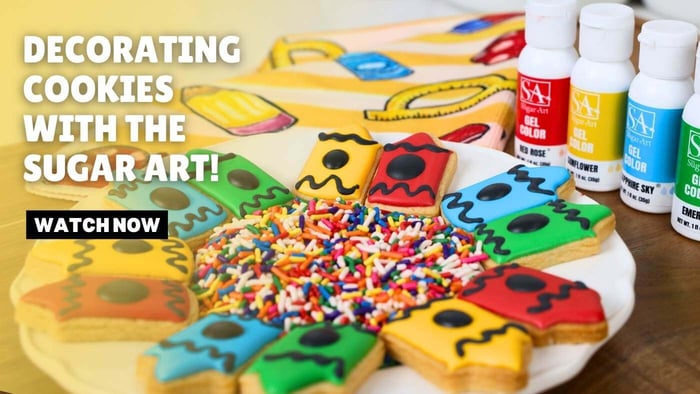
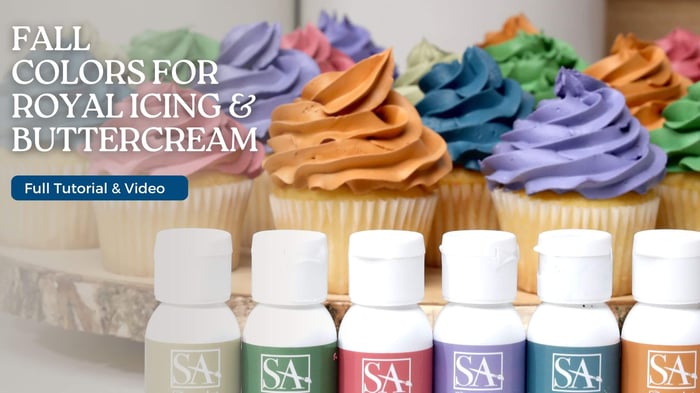
Gel Food Coloring: Gel or paste food coloring is ideal for decorating cookies. Our Gel Colors are unmatched in their vibrancy!
Scribes and Toothpicks: These tools are perfect for creating intricate designs and ensuring smooth icing when decorating cookies.
Spatulas and Palette Knives: Useful for spreading icing evenly and smoothing surfaces.
Edible Glitter and Sprinkles: These add a fun and festive touch to your cookies.
Rolling Pin and Flour: Essential for rolling out your cookie dough evenly.
Cooling Racks: Allow your cookies to cool completely before decorating to prevent the icing from melting.
Scroll For Recipes & More Info
Tipless Piping Bags (S or M)

$6.50
AWESOME PIPING BAGS ARE HERE! THIS LISTING IS FOR ONE SET OF 100 PIPING BAGS IN SMALL OR MEDIUM SIZE. PERFECT BAGS FOR ICING YOUR COOKIES OR CAKES! WHAT SETS OUR PIPING BAGS APART OF THE THICKNESS. IT'S THICK ENOUGH TO… read more
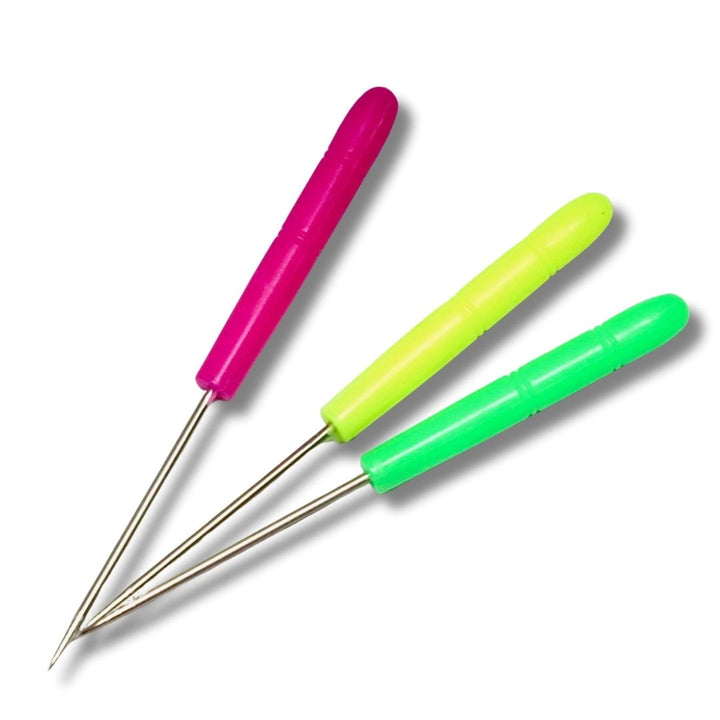
Cookie Scribe / Icing Scribe
$3.00
LISTING IS FOR A SINGLE ICING / COOKIE SCRIBE. COLOR IS CHOSEN AT RANDOM, YOU WILL RECEIVE EITHER GREEN, PINK OR YELLOW! AN ICING SCRIBE / COOKIE SCRIBE IS NECESSARY FOR ALL SUGAR ARTISTS! USE THESE NEEDLE TOOLS TO POP… read more
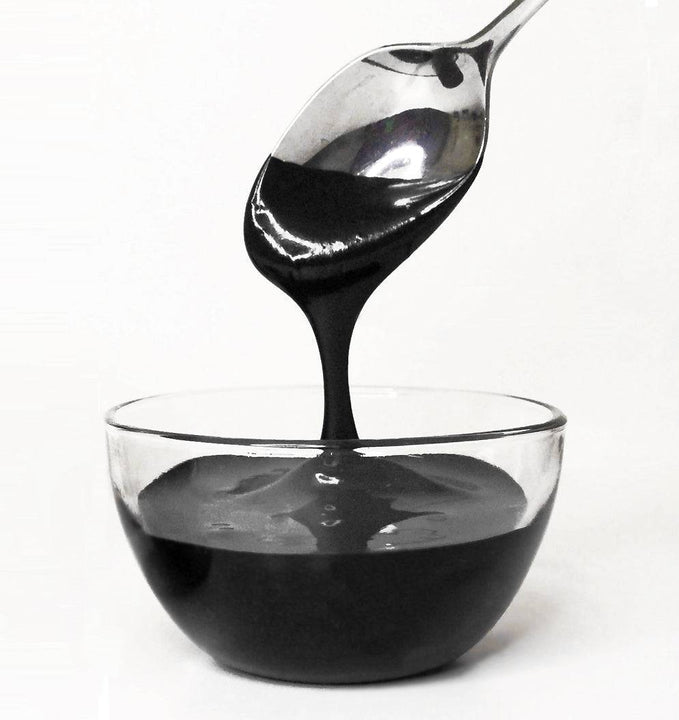
Black Food Color
$30.00
ACHIEVE THE TRUEST BLACK IN YOUR ICING USING OUR BLACK FOOD COLOR! MASTER ELITES ARE HIGHLY INTENSE POWDER FOOD COLORS. INTENDED TO COLOR HARD AND SOFT CANDY SUCH AS: ISOMALT, ROYAL ICING, FONDANT AND MORE! PRO TIP: WHEN USING MASTER… read more
Donya's Sugar Cookie Recipe (Holly's mom)
INGREDIENTS
- 1 Cup Salted Butter
- 1 Cup Sugar
- 1 Egg
- 1 tablespoon of heavy cream
- 1 tsp pure vanilla extract
- 2.5 Cups All Purpose Flour
- 1 tsp baking powder
- 1/2 tsp of salt (yes, even more salt)
I N S T R U C T I O N S
Cream together butter, sugar, eggs, vanilla and milk (or heavy cream)
In a separate bowl mix together flour, salt and baking powder.
Then stir dry ingredients into butter mixture. Mix well.
Roll the dough.
Cut the cookies into shapes and lay on your baking sheet.
Chill for 15 minutes.
Bake at 350 Degrees for 12 minutes.
Then rotate pan and bake for another 3-5 minutes, or until the edges are barely golden.
And voila, the best sugar cookie recipe ever is COMPLETE!
IP Notice
- Please understand this sugar cookie recipe is apart of my family legacy and is not permitted to be re-distributed or sold by any other persons or companies. By having it on The Sugar Art Inc.'s website, it is now copy-written and protected by Intellectual Property Law. This is a very special part of my family's history that we will protect, and appreciate your understanding.
Ed's Royal Icing Recipe
- 2 pounds of confectioner sugar (10x or greater)
- 6 tablespoons of Wilton meringue powder
- 19 tbs of ROOM TEMP water
- Mix on low - medium until you reach a 12 second consistency. This means, you will watch the icing drop down from the mixer and count the number of seconds until it is completely level inside of the bowl.
- Once at a 12-13 second consistency, cover with a damp cloth and let the icing rest for 20 minutes.
- Then on low speed, mix the icing for 30 second intervals, counting the "seconds" until you achieve a 15-16 second consistency.
- At 15 seconds, Ed and Holly both feel this is the best medium consistency for both outlining and flooding. However, feel free to mix longer if you prefer firmer icing.
- Pro Tip - If you over whipped your icing and the consistency is too firm, you can add 1 tsp of water at a time to thin it out. On the other hand, if you're icing is too thin - continue to mix.
The Magic of Sugar Art Gel Colors in Cookie Decorating
Sugar Art Gel Colors are an essential tool for anyone looking to elevate their cookie decorating game. These vibrant and highly concentrated food colors are perfect for achieving a wide range of hues, from bold and bright to subtle and pastel. In this section, we'll delve deeper into what makes Sugar Art Gel Colors so special, how to use them effectively, and why they are a favorite among professional bakers and home decorators alike.
What Makes Sugar Art Gel Colors Stand Out?
High Concentration: Sugar Art Gel Colors are known for their high concentration of pigments. This means that you need only a small amount to achieve rich, vibrant colors, which makes them economical and long-lasting. Unlike liquid food coloring, which can dilute your icing or batter, gel colors provide intense color without altering the consistency.
Versatility: These gel colors are incredibly versatile and can be used in various applications, including royal icing, buttercream, fondant, cookie dough, and even cake batters. This versatility allows bakers to create a cohesive color scheme across different elements of their baked goods.
Mixability: Sugar Art Gel Colors mix seamlessly, allowing you to create custom colors and shades. This is particularly useful for achieving specific tones that match a theme or a particular design vision. The colors blend smoothly without streaking, ensuring a professional finish.
Wide Range of Colors: Available in a wide array of shades, from primary colors to metallics and neons, Sugar Art Gel Colors offer endless possibilities for creative expression. Whether you're decorating cookies for a holiday, a birthday, or any special occasion, there's a color to match your needs.
How to Use Sugar Art Gel Colors
Using Sugar Art Gel Colors is simple, but a few tips can help you get the best results:
Start with a Small Amount: Because these colors are highly concentrated, start with a small amount and gradually add more until you achieve the desired shade. You can always add more color, but you can't take it out once it's mixed in.
Mix Thoroughly: Ensure that the color is evenly distributed by mixing thoroughly. This is particularly important when working with larger batches of icing or batter to avoid streaks.
Color Development: Allow the colored icing or fondant to sit for a few minutes after mixing. The color may deepen as it sits, so it's a good idea to let it rest before making any final adjustments.
Tips for Perfect Results
Protect Your Work Surface: Gel colors can stain countertops and clothing, so it's a good idea to cover your work surface with parchment paper or a silicone mat and wear an apron.
Store Properly: Keep your gel colors in a cool, dark place to prevent them from drying out or losing their potency. Make sure the lids are tightly sealed after each use.
Why Professionals Love Sugar Art Gel Colors
Professional bakers and decorators prefer Sugar Art Gel Colors for several reasons:
Consistency and Reliability: The consistent quality of Sugar Art Gel Colors ensures that every batch of cookies looks perfect. Professionals rely on these colors to deliver the same vibrant results time after time.
Creative Freedom: The wide range of available colors and the ability to mix custom shades give professionals the creative freedom to bring any design to life.
Efficiency: Because only a small amount of gel color is needed to achieve vibrant hues, professionals can work efficiently and economically, which is important in a commercial setting.
- Outline the Cookie: Use a piping bag fitted with a small round tip to outline the edge of the cookie with thick icing.
- Fill the Cookie: You can the icing slightly with water until it reaches a consistency that spreads easily, or try our medium consistency icing recipe (see above) for a consistency we love for both outlining and flooding royal icing. Use a piping bag to fill in the outlined area.
- Smooth the Surface: Use a toothpick or scribe tool to spread the icing evenly and pop any air bubbles.
Other Cookie Blogs You May Like...
Basic Icing Techniques
Understanding different icing techniques is crucial for achieving various decorative effects on your cookies. Here are some fundamental methods:
1. Flooding
Flooding is a technique used to cover the entire surface of a cookie with a smooth layer of icing. Here's how to do it:
- Outline the Cookie: Use a piping bag fitted with a small round tip to outline the edge of the cookie with thick icing.
- Fill the Cookie: If you try our royal icing recipe above, you may feel like we do and you only need one consistency for both outlining and flooding. However, you can also thin the icing slightly with water until it reaches a consistency that spreads easily. Then use a piping bag to fill in the outlined area.
- Smooth the Surface: Use a toothpick or scribe tool to spread the icing evenly and pop any air bubbles.
2. Marbling
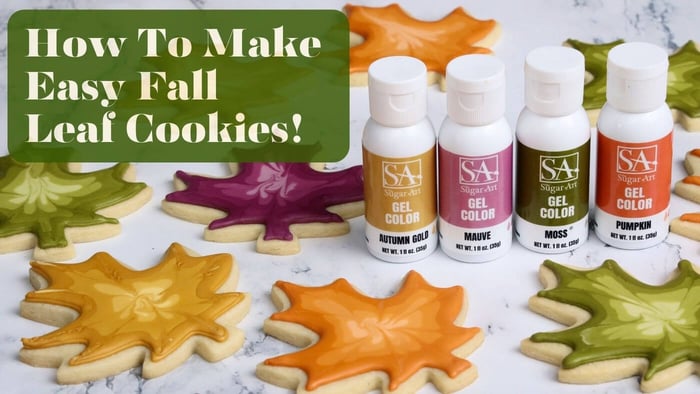
Marbling is also fun and easy when decorating cookies! Marbling creates a beautiful, swirled effect on your cookies. Here's how to achieve it:
- Flood the Cookie: Flood the cookie with a base color of icing. People often use white as the base and it adds a nice contrast to your colors.
- Add Accent Colors: While the base icing is still wet, add drops of a contrasting color. Or you can color two smaller bowls of colors, then pipe the swirl inside the bowl of icing, too.
- Swirl the Colors: Use a toothpick to swirl the colors together, creating a marbled effect. Then dip your cookie head on into the bowl of icing.
Creative Decorating Ideas
Now that you know the basic techniques, let's explore some creative ideas to inspire your cookie decorating:
1. Seasonal and Holiday Themes
Decorate cookies to match the season or upcoming holiday. Here are some ideas:
- Christmas: Use red, green, and white icing to create festive designs like snowflakes, Christmas trees, and Santa hats.
- Halloween: Decorate with spooky designs like pumpkins, ghosts, and spiders using orange, black, and white icing.
- Valentine's Day: Heart-shaped cookies with pink, red, and white icing make perfect gifts.
- Easter: Pastel colors and designs like Easter eggs, bunnies, and chicks are perfect for springtime celebrations.
2. Personalized Cookies
Personalized cookies make great gifts and party favors. Use piping techniques to add names, initials, or messages. You can also use edible markers to draw directly on fondant-covered cookies for a unique touch.
3. Floral Designs
Floral designs add an elegant touch to any cookie. Use piping techniques to create flowers, leaves, and vines. You can also use edible flowers or press dried flowers into the icing for a natural look.
4. Character Cookies
For kids' parties or themed events, decorate cookies to resemble popular characters. Use a combination of piping, flooding, and edible markers to bring characters to life on your cookies.
Tips for Perfect Cookie Decorating
To achieve the best results, keep these tips in mind:
- Practice Patience: Decorating cookies takes time and patience. Allow each layer of icing to dry completely before adding additional details.
- Use Quality Ingredients: High-quality ingredients make a difference in both taste and appearance when decorating cookies, too. Invest in good food coloring, extracts, and sprinkles.
- Experiment with Techniques: Don't be afraid to try new techniques and experiment with different designs. Practice makes perfect!
- Stay Organized: Keep your workspace clean and organized. Have all your tools and ingredients ready before you start decorating.
- Store Properly: Once decorated, allow your cookies to dry completely before storing them in an airtight container to prevent smudging.
Conclusion
Decorating cookies is a delightful and creative endeavor that allows you to showcase your baking skills and artistic flair. With the right tools, techniques, and a little bit of practice, you can create stunning cookies for any occasion. Whether you're making seasonal treats, personalized gifts, or just having fun in the kitchen, beautifully decorated cookies are sure to impress.
So, gather your ingredients, get your tools ready, and start decorating! Your beautifully decorated cookies will be the highlight of any event and a testament to your baking prowess. Happy decorating!
For more cookie decorating tips and inspiration, check out Baking with Love and bring your cookie decorating skills to the next level. Enjoy the process and the delicious results!
THANK YOU!
We appreciate your support so much and hope you enjoyed this video!
Be sure to follow along our journey!

