WELCOME BACK
This is a 2-part post, so be sure to scroll down the entire page for the 2-videos! :)
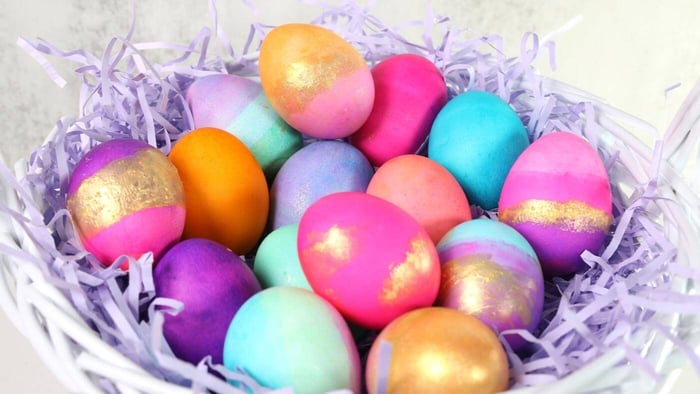
It's the season for egg hunting, and today we cover: "how do you make bright colored Easter eggs?" Well, for Team Sugar Art the answer is obvious ... MASTER ELITES OF COURSE! :) But let's walk through that process SUPER easily and go over what you will need for this demonstration!
HOW TO MAKE BRIGHT COLORED EASTER EGGS:
Products you will need:
- 1-2 dozen hard-boiled eggs
- 1-2 egg cartons
- Paper towels
- A tall clear glass (we used a 16 oz mason jar for this demonstration)
- 2 cups of room temperature water (warm is acceptable)
- Distilled White Vinegar
- Awesome FOOD COLORS (click here)
- Tiny Measuring Spoons
Instructions to achieve bright colored eggs:
- Boil 12-24 eggs, depending on the amount you'd like to color
- Fill your glass or mason jar with room temperature water
- Add 1/4 tsp of white vinegar (very important)
- Add 1/32nd of a teaspoon of the MASTER ELITE of your choice
- Take your egg holder and gently dip down the hard-boiled egg into the colored water
- Leave in for 2-5 minutes, depending on the vibrancy of color you are looking for!
- The less time you leave the eggs in the water, the more pastel the eggs will be.
- For the darkest eggs in the above image, we left in for 5 minutes!
- Gently pull out the egg with your holder, have your paper towel handy for the excess drops of water, and place inside your egg carton
- Repeat with all desired colors!
Again, if you choose to be patient you will achieve the highly intense bright colored eggs we're all loving!
NOW, LET'S TALK DECORATING!
Obviously the bright colors have gotten you halfway there, but every Easter egg could use a little more pizazz!
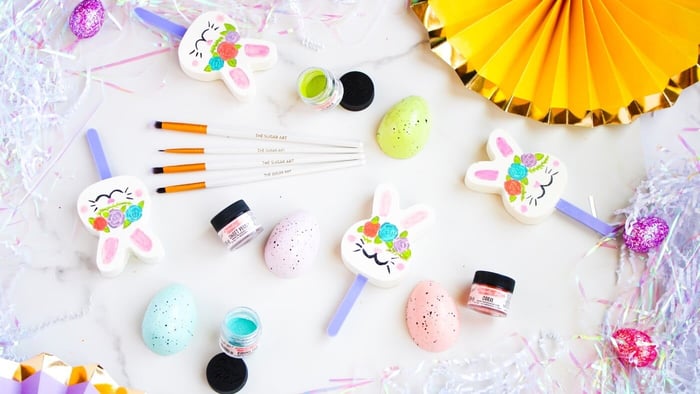
Products you will need:
- Your bright colored eggs :)
- Edible Luster Dust
- Edible Paint Solution
- Paint Brush Set
- Stainless steel palette
- Edible Glitter
Advice on decorating:
- Gently place your egg in various directions to achieve multi-tones.
- ie: Dip the entire egg into a light tone, then go halfway into a contrasting color and only dip half of the remainder of the egg!
- Play with the direction you're laying the egg as well, below you will see us try laying the egg on it's side, instead of up and down!
- Create an edible gold paint by using Golden Halo and The Color Solution!
- Ensure the paint is THICK before proceeding.
- Load up a Large Flat Brush and dab on the edible gold paint
- Play with direction here, too! You could dab in a line of gold paint in the middle of a two-toned egg, to create a "geode" feel!
- Blot it in small areas of the egg to create a "golden foil" look, too!
Just be sure to get CREATIVE and have so much fun with your decorating!
Thank ya'll for stopping by and as always, we will link all products used below!
The Color Solution For Edible Paint
$20.00
CREATE THE MOST INCREDIBLE DIY EDIBLE PAINT WITH OUR BRAND NEW FOOD COLOR PAINT SOLUTION! BEST USED WITH ELITE COLORS AND EDIBLE LUSTER DUSTS! FOR MORE INFORMATION AROUND THE PRODUCT AND FOR A VIDEO DEMONSTRATION, CLICK THE LINK BELOW! PLEASE… read more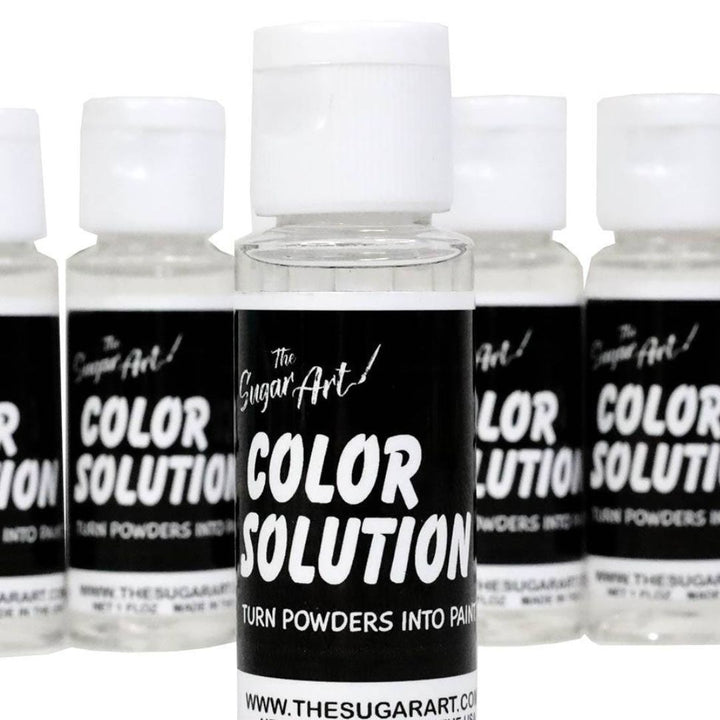
Rainbow Edible Glitter
$9.00
OUR NEW RAINBOW EDIBLE GLITTER IS AMAZING! IT HAS MANY REFLECTIVE COLORS RESULTING IN A PRISM FINISH! USE FOR CAKES, COOKIES, DRINKS OR FOOD! THIS VERY FINE EDIBLE GLITTER IS TASTELESS & LEAVES A SMOOTH FINISH! NET WEIGHT: 4 GRAMS LEARN… read more