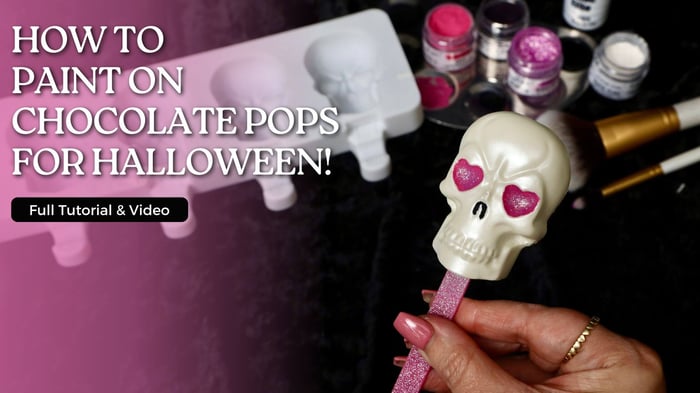
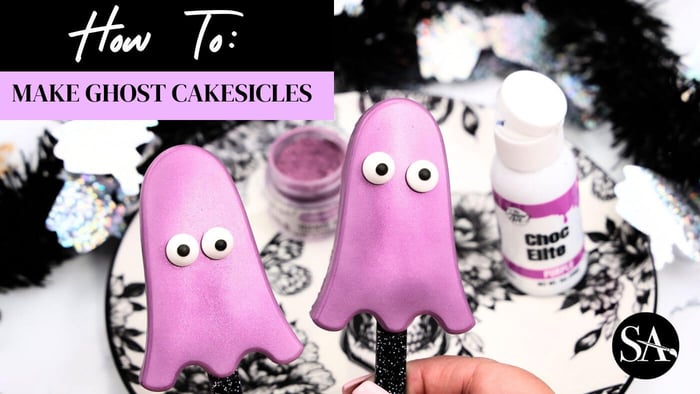
Let's learn how to make Ghost Cakesicles For Halloween! Be sure to check out the most vibrant oil-based colors in the industry, CHOC ELITES (click here)!
SHOP PRODUCTS USED IN VIDEO:
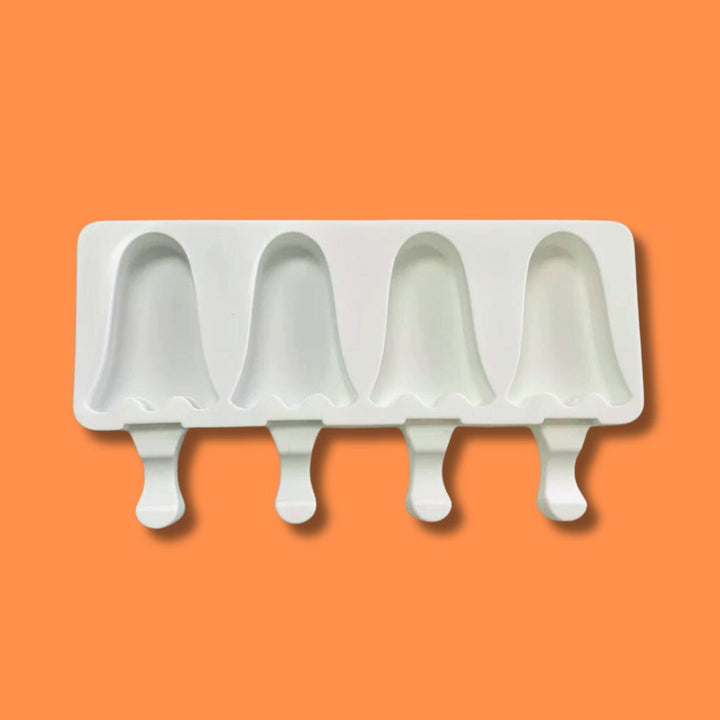
Ghost Cakesicle Mold
$12.00
THIS 4-CAVITY SILICONE MOLD IS USED TO MAKE CAKESICLES / CAKE GEMS SPECIFICALLY! NON-STICK SILICONE MOLD FOOD GRADE SILICONE OVEN, REFRIGERATOR & DISHWASHER SAFE TEMPERATURE RANGE -104 FARENHEIT to 466 FAHRENHEIRT DEGREES CAVITY SIZE: 3" X 2" Full tutorial on making Ghost Cakesicles! Click HERE… read more
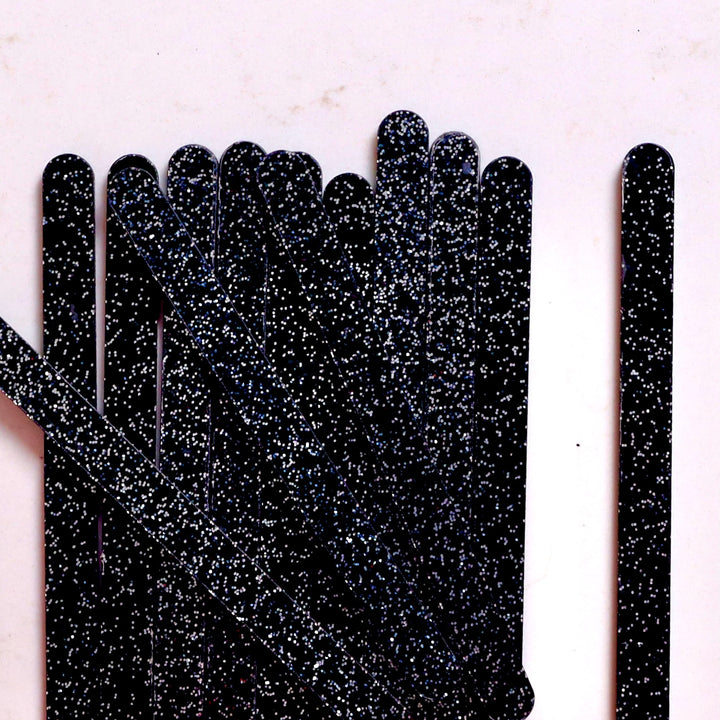
24 Black Glitter Popsicle Sticks
$7.00
$12.00
A BUNDLE OF 24 POPSICLE STICKS AT AN UNBEATABLE PRICE! USE THESE POPSICLE STICKS FOR YOUR CAKES, COOKIES AND CHOCOLATE TREATS! THEY ARE MOST COMMONLY USED FOR CAKESICLES. THIS SET INCLUDES A FINE GLITTER AND THE STICKS ARE NOT CLEAR. IT'S… read more
Purple Chocolate Color
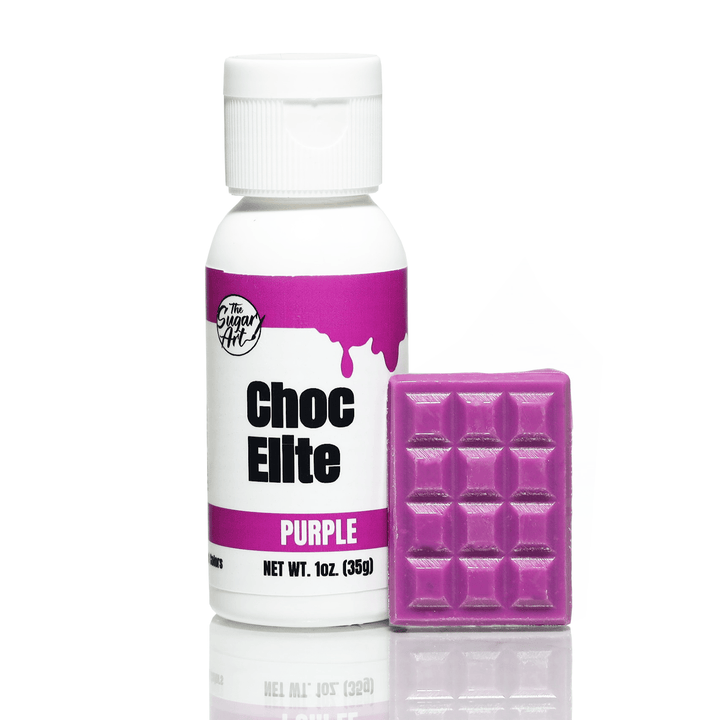
$8.00
This product contains Red 3 and is scheduled to be de-listed by the United States Food and Drug Administration Registry by January 15, 2027. The Sugar Art is voluntarily removing all Red 3 Products prior to the phaseout date. The… read more
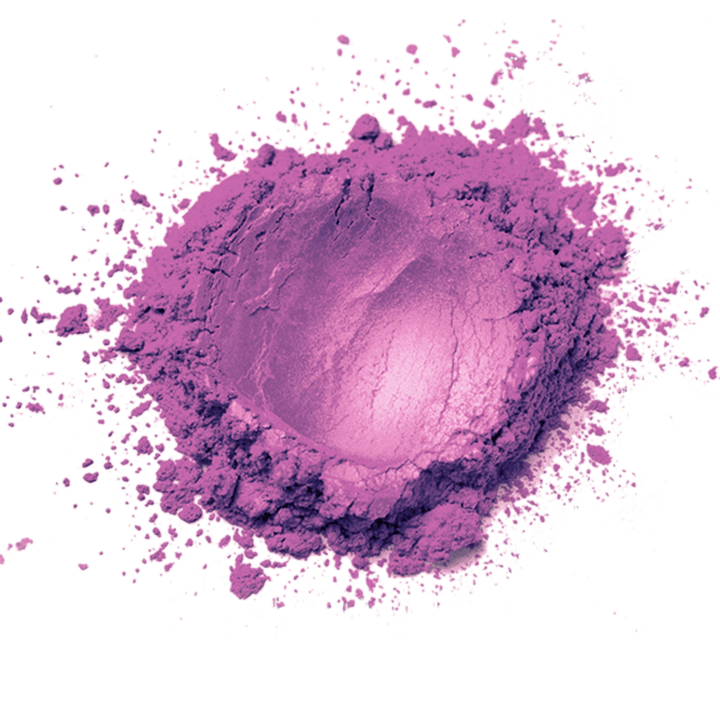
Yummy Berry Luster Dust
$3.50
$7.00
This product contains Red 3 and is scheduled to be de-listed by the United States Food and Drug Administration Registry by January 15, 2027. The Sugar Art is voluntarily removing all Red 3 Products prior to the phaseout date. Color… read more
Our Top Tips For Making Cakesicles!
- Clean your mold very well!
- Do not skip this step, as anything inside of your mold will end up in your chocolate. Let the mold fully dry before use as we don't want left over moisture to ruin your chocolate either!
- Wipe down with a little bit of vodka.
- This is optional, but it does help making the chocolate "shiny."
- Since we are working with a Cakesicle mold, you will need to take an exacto knife and gently cut the insert a little more if you're wanting to use popsicle sticks (like we did).
- The mold does not come pre-cut, as many artists do not want to use popsicle sticks. You will have to open up the slit a little more to make cakesicles. This is standard with Cakesicle molds.
- Temper Your Chocolate
- For a great tutorial on tempering chocolate - CLICK HERE!
- Use Vibrant Chocolate Colors Only
- Our Choc Elites are stronger than the industry standard, give them a try!
- If you're new to cakesicles, brush up the side of the mold with the warm chocolate (as you see in the video).
- You can also fill the mold completely to the top, letting it set up a little bit then flipping it over removing the excess chocolate.
- Once your chocolate is inside of the mold and the edges are brushed up, insert the popsicle stick halfway up the ghost shape.
- It has to go halfway to be the best support for holding your heavy Cakesicle!
- Let the chocolate completely set up before adding your cake mixture (fully baked cake plus icing)
- This seems obvious we know, but just in case.
- USE A COUNTERWEIGHT FOR THE POPSICLE STICKS! (See Green Ghost Video above)!
- The sticks tend to lean into the bottom of the mold. To counter-act this, add a book or a heavy item (we used a fondant roller) to even the sticks out as your chocolate sets up.
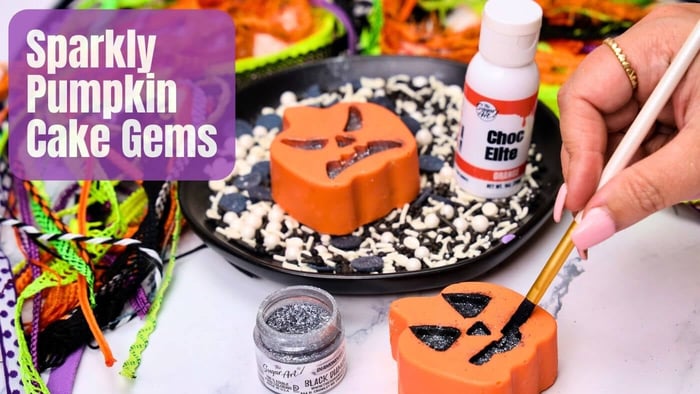
- For pizazz, add sprinkles or dust some sparkle with our Luster Dust (click here)!
- HAVE FUN!
- Not every project will turn out perfect the first time, so be patient and keep trying!
Learn More About Choc Elites Right Here!
- WHAT ARE CHOC ELITES?
- Choc Elites are potent food colors that solve the long awaited issue of achieving bright and challenging tones in white chocolate! They are made of both lake and food dyes, achieving the most vibrant tones possible in this industry.
- Choc Elites are sold in 1 oz jars, at least 35g of color - double the size of most competitors!
- CAN CHOC ELITES COLOR OTHER MEDIUMS?
- Unquestionably these colors "work" in other ingredients, as they are strong pigments. However, they will never compare to Master Elites (click here) for icings, batters, fondant, etc.
- It's crucial to understand why - ingredients such as a meringue or macaron, introduction of any kind of oil or liquid can change consistency, texture and finish. This can also be said for both royal icing and buttercreams, but the impact is less in these two mediums. Thus we need to ensure a proper selection for the right kind of food coloring for the specific confection you are working with. Not all food colors can work to their fullest potential across all sugar mediums.
- At this time - Master Elites (click for full tutorial) remain the top choice for all other mediums. However, we are working on a new product for these, too.
- WHAT SETS CHOC ELITES APART FROM OTHERS?
- The three main things that set Choc Elites apart in this industry are: Potency, Size and Cost.
- Inside of these larger than industry-standard bottles, we have added the PEAK amount of pigment and color possible for you - our customer.
- Based on the size and amount of color you are receiving, we also ensure our price is unrivaled. Making Choc Elites the best colors for chocolate!
- WHY DID WE CREATE CHOC ELITES?
- We saw the need for more potent chocolate colors that were simplified for the every day baker.
- Being the creators of multiple food color lines, taking the industry by storm - we wanted to revolutionize coloring chocolate as well. In a way that only we could.
- WHAT ARE THE LIMITATIONS OF COLORING CHOCOLATE IN GENERAL?
- There are only a few limitations to Choc Elites. They do not mix well with water, thus limiting their ability to create an edible paint.
- If using Choc Elites in natural chocolate, un-whitened, all colors will have a slight shift from the original color. Mainly at lighter tones.
- If using Choc Elites in white candy melts, you may need more of the Choc Elite to overcome white pigmentation that has been added previously.
- THE COLORS WE OFFER AND WHY?
- We offer 10 standard colors and 2 Colors (White and Black) that are used to either brighten or deepen the other 10 Choc Elites.
- White Choc Elite is a unique color in that it will allow you to add brightness and sharpness to any other standard Choc Elite Color.
- Black Choc Elite does the opposite, it provides you the ability to add depth or richness in any other standard Choc Elite Color.
- With all of these colors, we give you the power to make hundreds of shades and tones - by offering the strongest potency of these standard food colors.
- We offer 10 standard colors and 2 Colors (White and Black) that are used to either brighten or deepen the other 10 Choc Elites.
- HOW TO USE CHOC ELITES?
- Simply mix your Choc Elite in warm white chocolate for use.
- The color will darken as it dries - so keep this in mind, as you aim for very deep and vibrant tones.
- IS THERE AN AFTERTASTE?
- Typically no. However, if you are coloring a very small bowl of chocolate (less than 2 oz) and you add more than 8-10 drops of color - you could experience an aftertaste.
- The good thing about Choc Elites? They are already very strong colors, so no need to add too many drops to achieve medium-vibrant tones!
- In the demonstrations below, we are working with 10 oz of white Ghirardelli Chocolate and only adding 8 drops of Choc Elite to achieve the darkest tone you see.
HERE'S AN EXTRA FREE TUTORIAL ON TEMPERING CHOCOLATE, ED FRYS WAY!
Chocolate artists have been honing their craft for millennia. They are esteemed professionals and this is why chocolate is it's own specific class of talent, because it is not an easy medium to work with! It takes a lot of time to learn how to properly temper and color chocolate!
And Ed has been tempering chocolate since he was a teenager, and he claims it was one of the hardest mediums for him to learn. Today, has has some sound advice on how to achieve a proper temper - but, you must follow all of the steps below. It will take TIME so please be PATIENT with the chocolate, and yourself. If it doesn't work out perfectly the first time, keep trying. You'll get there!
- The most important step is to have the chocolate chopped into smaller pieces, unless you are using chocolate chips. Chocolate chips work just fine.
- You want the water to just start steaming, but not bubbling, on your double broiler.
- After adding the chocolate pieces (or chips) to your bowl - steadily mix the chocolate until it completes melts. You need to continuously mix or the chocolate could burn.
- Grab a thermometer, because you will need it the entire time. An infrared thermometer works perfect, too. You're aiming for a temp of 110-115 Degree Fahrenheit.
- When you reach this temperature, you need to bring it down very quickly adding the fresh chocolate "seed" as Jyoti mentions, unmelted. You're aiming for a temperature of about 90 Degrees Fahrenheit - at which point you can add a little more chocolate to cool it down further. At which point you can add more chocolate until it reaches 83-85 Degrees.
- Then put it back on the double broiler, continuously mixing, to prevent any hot-spots on the chocolate, getting it back to a temperature of 95 Degrees.
- To ensure you have proper temper, add a dollop of your chocolate to a piece of parchment paper. Put in the fridge for 5 minutes and it should hear a clear snap when breaking it in half. It also should not leave any residue on the parchment paper. Both of these are indications that you have a proper temper!
- You can reheat the chocolate on the broiler, but never exceed 105 Degrees after you achieve temper.
THANK YOU!
Tag us if you try any of our techniques or confections in all of your social media posts too! We hope you enjoyed learning How To Make Ghost Cakesicles For Halloween! Click the links below to follow!