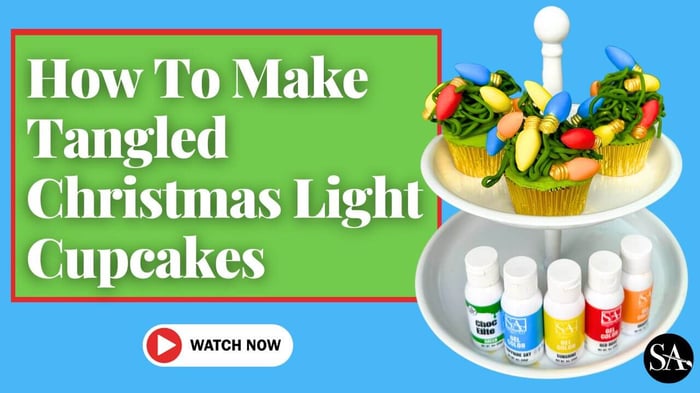
Now THIS is a festive dessert: How To Make Tangled Christmas Light Cupcakes! Watch Ed walk you through this simple, yet impressive, technique of making a tangled light bulb strand out of a cup of COLD water, tempered green chocolate and vibrant fondant light bulbs! This really isn't as hard as it looks and your family and friends will be SO impressed with this holiday dessert!
Introduction: What Makes These Cupcakes Impressive
A simple google search of "tangled Christmas light cupcakes" will show you how to achieve this with only buttercream. But y'all know Ed the Cake Guy - he has to take it further and make it REALLY impressive! This cold water chocolate piping was just the trick! It offers not only that quint-essential tangled Christmas light feel - but it also provides more height and dimension to the over all art of this festive treat!
Preparation Phase: Essential Equipment and Ingredients
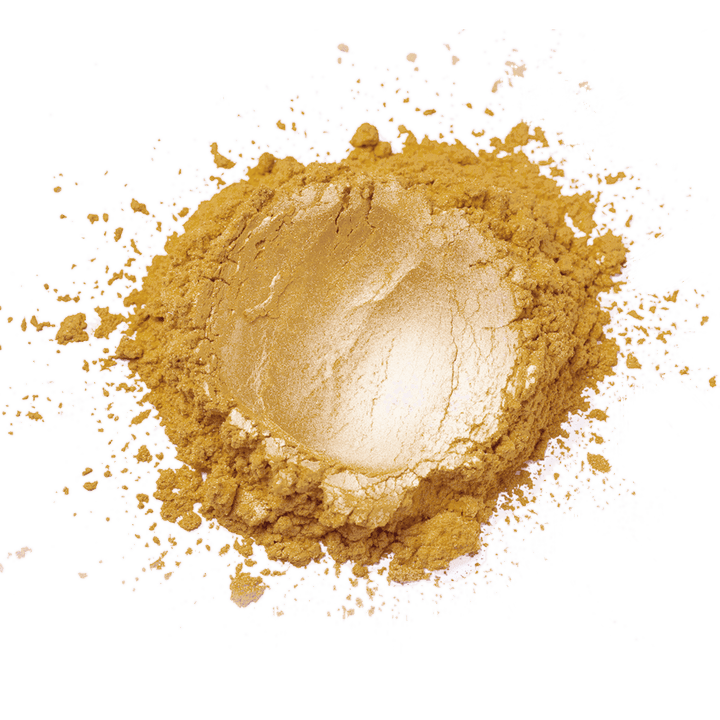
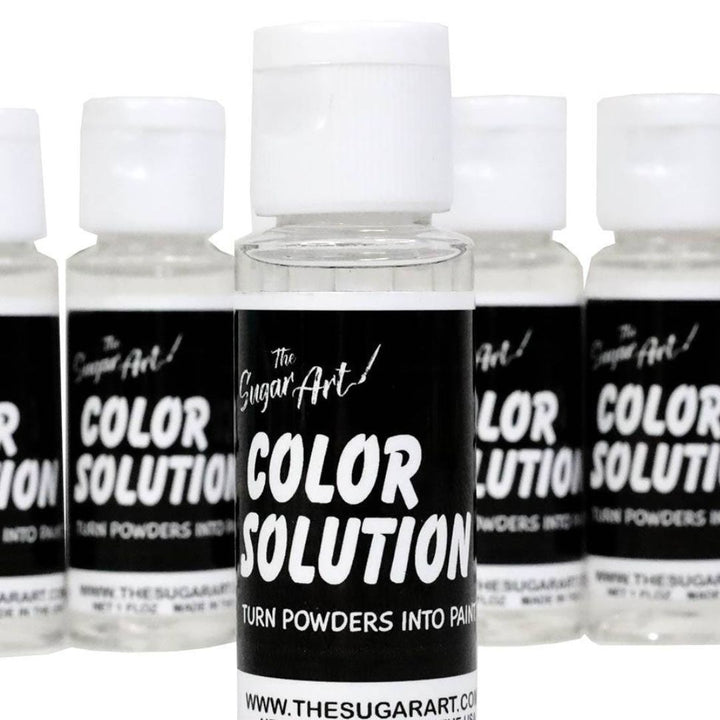
You will need tempered green-tinted chocolate (try Green Choc Elite Color), a bowl of ICE COLD water, our light bulb fondant mold, VIBRANT gel colors for the fondant and buttercream. To make the light bulbs look even more special, grab our Color Solution and edible luster dust, Wedding Gold!
Recipe Guide: Step-by-Step Process
Melting and Preparing the Chocolate
To start, the chocolate must be smooth and luscious. Whether you're melting it in the microwave or over a double boiler, maintaining a temperature between 89-96 degrees Fahrenheit is key for tempered chocolate!
Here is a full tutorial on Tempering Chocolate you may want to check out - CLICK HERE!
Piping the Chocolate Into Your Cold Cup Of Water
First, you need to prepare your ice water. Grab a small bowl that has a bottom width between 3-4 inches. This is to keep the width of your green light string in line with the top of your cupcake. Next, fill it with the coldest water possible and then add ice cubes. We recommend keeping the bowl of water in the refrigerator until you're ready to pipe the chocolate down into it.
Be sure to REMOVE the ice cubes before you begin your piping.
Then you can prepare your chocolate. Once the chocolate is tempered and tinted green, you will fill quickly it in a sturdy piping bag - find ours HERE - and pipe it down into your ice cold bowl of water.
By taking properly tempered chocolate and piping it into freezing cold water, it sets it up within seconds. Allowing it to maintain a continuous string of flowing chocolate - mimicking wires. You will want the chocolate around 90 degrees for this step.
You will SUBMERGE the piping bag tip just below the surface of the water and gently squeeze the chocolate out. You will move the bag directing the chocolate strings and ensuring they fall into place the way you want them to. This will slowly create an erratic pile of "light strings" in the shape of a dome for your cupcake topper.
Allow the mass of chocolate to sit inside the water for 15-20 seconds, allowing it fully solidify and set up. Once it's set up you take a fork and gently remove the pile of chocolate strings as one object. Place it on parchment or paper towels to wick off any additional water. Once fully dry, you can add the pile to your cupcake and proceed with your fondant light bulb placement.
Making Your Fondant Light Bulbs
We use Satin Ice fondant most often and stand by its quality. Coloring fondant is incredibly simple with our Vibrant Gel Colors, too. You will want to wear gloves and only add a couple drops of the gel colors to a small ball of fondant and knead until all of the color has blended into the fondant. You will be shocked at the vibrancy of the gel colors in fondant!
Once your colors are ready, grab the fondant Light Bulb Mold and brush in a little bit of corn starch. This will help release the fondant from the cavity. Push the small fondant ball down into the cavity and then release it. To add extra flair to this fondant piece, paint Wedding Gold at the base using The Color Solution!
Coloring Buttercream with Vibrant Gel Colors
Ed chose to use his Emerald Green Gel Color (not Choc Elite Green) to color his buttercream. He went lighter in tone so the chocolate strings would really pop! The Sugar Art Gel Colors are so intense, it only takes a few drops to color light toned buttercream! Using The Sugar Art Gel colors is the perfect tool to achieving vibrant tones in these tangled Christmas light cupcakes!
Refining Your Technique and Troubleshooting
Troubleshooting Common Issues
If you try to pipe the chocolate string on top of the water, the surface tension and the cocoa butter will sometimes cause the chocolate to continue floating and never sink.
Presentation
Once your tangled Christmas light cupcakes are iced, the chocolate light string is done and the color fondant light bulbs are ready to go - it's time for the FUN PART! Putting it all together, and serving it to your loved ones! Everyone will be so impressive at the uniqueness and creativity of these cupcakes!
Shop All Products Needed Right Here
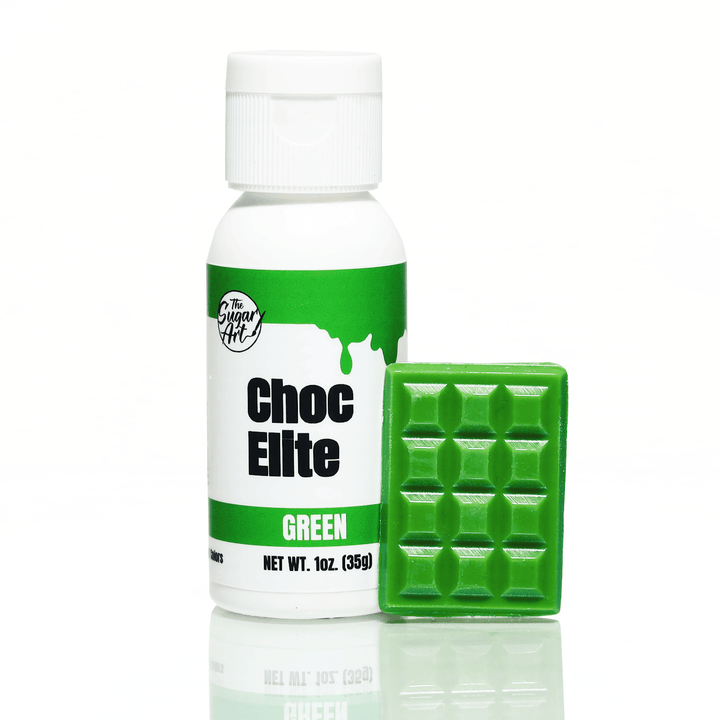
Green Chocolate Color
$10.00
The easiest way to achieve a Vibrant Green in chocolate! Our Green Chocolate Color is an intense, oil-soluble food color that will create the most beautiful emerald green tones inside of your white chocolate. Achieve a vast array of colors… read more
Light Bulb Fondant Mold

$3.00
$9.00
THIS 3-CAVITY FONDANT MOLD IS A MUST HAVE! CREATE CHRISTMAS LIGHT BULBS THIS CHRISTMAS FOR YOUR CAKES AND COOKIES! THIS IS A SMALL MOLD AND PRIMARILY USED TO CREATE FONDANT OR MODELING CHOCOLATE PIECES TO GO ON TOP OF YOUR… read more
Wedding Gold Luster Dust
$8.00
OUR BEST EDIBLE GOLD LUSTER DUST FOR CAKES, COOKIES, CHOCOLATES, & MORE! DRY-DUST THIS EDIBLE GOLD POWDER ON BAKED GOODS AND SWEET TREATS FOR A GORGEOUS SHINE! ALSO MIX THE LUXURIOUS LUSTER DUST WITH EXTRACTS & SPIRITS TO CREATE AN EDIBLE… read more
The Color Solution For Edible Paint
$20.00
CREATE THE MOST INCREDIBLE DIY EDIBLE PAINT WITH OUR BRAND NEW FOOD COLOR PAINT SOLUTION! BEST USED WITH ELITE COLORS AND EDIBLE LUSTER DUSTS! FOR MORE INFORMATION AROUND THE PRODUCT AND FOR A VIDEO DEMONSTRATION, CLICK THE LINK BELOW! PLEASE… read more
Final Thoughts
I hope this guide inspires you to embark on your journey of making tangled Christmas light cupcakes. Don't fear making a mess or trying something new. Share the joy with friends, family, or relish a quiet moment with your creation. Happy dipping and savoring those delightful homemade treats!
THANK YOU!
We appreciate your support so much and hope you enjoyed this tangled Christmas light cupcakes tutorial by Edward Frys, the cake guy! Be sure to check out all of the tutorials we have on our blog! Incredible decorating techniques are taught, along with delicious and challenging dessert recipes!
The Ed-ucational Blog (click here)
You can also find so many amazing tutorials on our Gel Colors at the link below! They are incredible for coloring almost ANY sugar medium, from icing and fondant, to buttercream! Click the link below to learn more:
All The Gel Color Tutorials Here! (click here)
Be sure to tag us if you try any of our confections in all of your social media posts too! Click all links below to follow!

