Everyone has their own take on how to make marbled cookies, but today we are going to focus on marbled ICING created with our intense food colors, Master Elites!

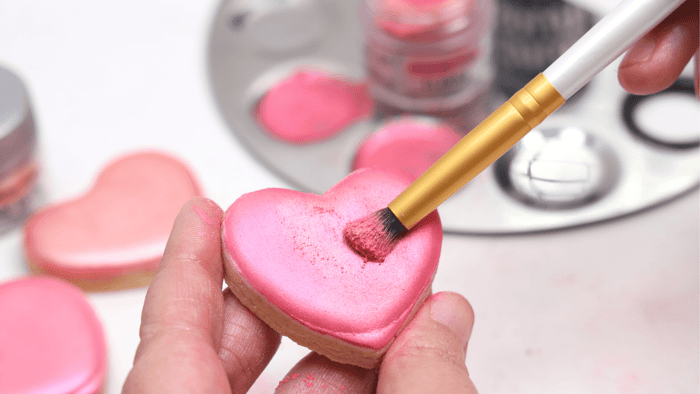
But first, let's talk about how to use Master Elites in royal icing! They are the best food colors in the sugar art industry, perfect for making the brightest icing colors for your marbled cookies. You'll want to start with very little color (here we are using HALF of the 1/64th tsp of color). Be sure to check out our tiny measuring spoons, THE COLOR RING, to get those precise measurements! After placing the powder color inside of your icing, you'll then add a couple of drops of water to help activate those color crystals and dissolve them.


We take a small scribe, or the tiny spatula that comes with our PAINT PALETTE, to help break down the color crystals as they sit on top of the icing. Once you see no powder left, then fully mix and incorporate the color into your royal icing.


Repeat this process until you achieve your desired tone. Pro Tip: By activating the color in the drops of water at the BEGINNING of your coloring process, the color is almost fully developed. As your cookies dry they will deepen a little - but not as much when you activate the powder accordingly.

Here are the various tones you can achieve with Emerald Master Elite, and even darker ones if you continue adding more powder! By the end, you will have achieved the most incredible tones of Emerald!
Today we are working with not only EMERALD MASTER ELITE, but also LIME MASTER ELITE. Below are the various tones we could achieve with our Lime Food Color.

Now let's move on to creating the marbled cookies, using royal icing!
We usually start with a white base and then layer in vibrant tones for our marbled icing. The bright white icing is a nice contrast between vibrant colors, but it does not necessarily need to be this way. At minimum you need 2 different colors of icing, but 3 will always have a better feel and more variation in color.


Now let's go.
Take your cookie and lay it flat down into your icing, ensuring the icing is covering the entire top of the cookie. Then slowly lift it up, allowing the icing to drain off for a couple of seconds. You want to be sure to gently shake most of your icing off, leaving just enough as you flip over your cookie and allow the icing to flood to the cookie's edge.
You may also need to gently shake it when you have it right side up, this will help the icing travel to the edge of the cookie.


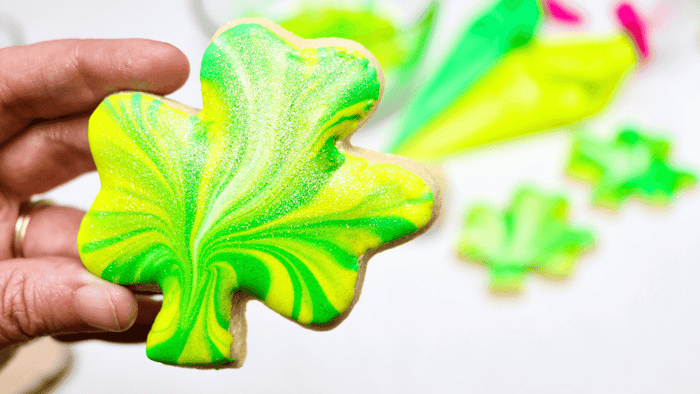
You can also take a small scribe and gently move the icing around, as your cookie is right side up, ensuring the icing is to the edge. It will take some practice to pull up the cookie out of your icing, understanding how much icing to allow to flow off after the dip, and what direction you want to pull the cookie up as well. Below is a video of this exact topic!
For the clover leaf cookies, it's best to pull the cookie up in the direction of the stem remaining at the bottom. As you see toward the end in the above video. This allowed the color to flow in a unique, leaf-like pattern - but again, you can constantly tweak and change the way you pull your cookie into various directions, influencing the design of the marbling.
We hope you enjoyed this blog and that you will give marbled cookies a try!
Thank you for being TEAM SUGAR ART!