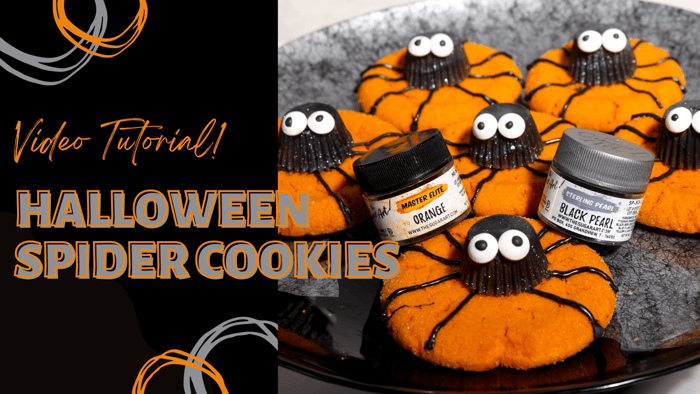
Make the cutest Halloween Spider Cookies, and give the peanut butter cookie recipe a try too! This recipe has been in Holly's family for decades, originally created by her great grandmother, and you will LOVE it!
Learn how to use Master Elites in cookie dough, Master Elite Black to color CHOCOLATE and Edible Luster Dust to dazzle up some peanut butter cups! This cookie design is so simple and fun, it would be a great Halloween activity for kids!
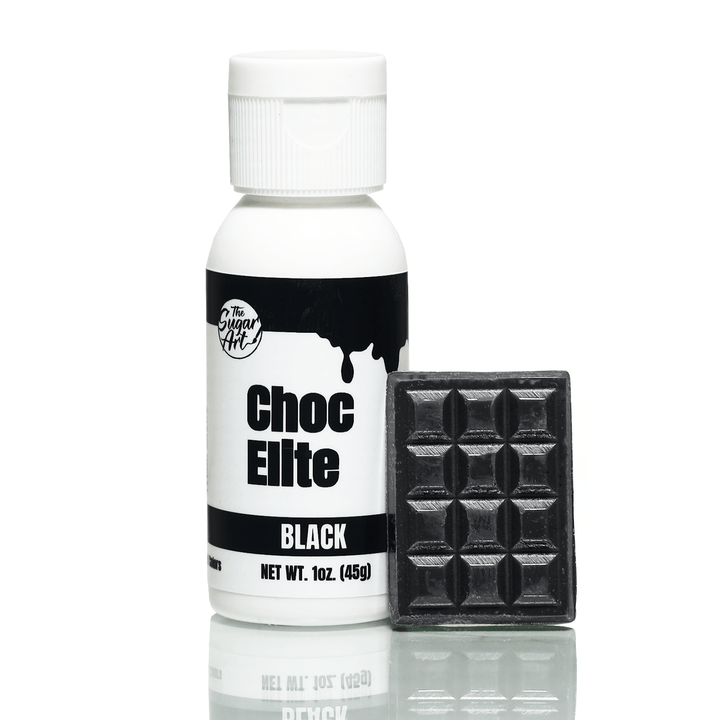
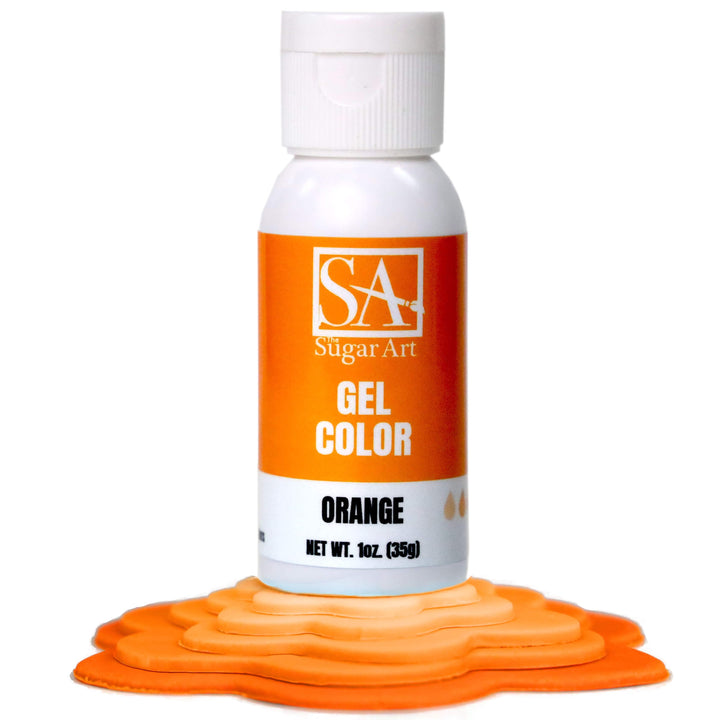
** Update as of 2024: We now have our intense Gel Colors, and Orange Gel would be PERFECT for these Halloween Spider Cookies! You can also check out our ChocElite Color Line to color all of your white chocolate now, including Black ChocElite!
Black Chocolate Color
$10.00
The easiest way to achieve a Black Color in chocolate! We recommend starting with milk or dark chocolate when trying to achieve a black chocolate color. Our Black Chocolate Color is an intense, oil-soluble food color that will create the… read more
Master Elites are highly-pigmented food colors that are activated by moisture, so the egg inside of the cookie dough recipe activated Orange Master Elite perfectly! We love how vibrant the color turned out, even with that "peanut butter brown" tone on the cookies! The orange still managed to be the star!
Now, Master Elites cannot color chocolate - with the exception of Black and White! Black and White Master Elites are fat soluble, but no other colors from this collection are. Master Elites color any type of icing, dough, fondant, macaron batter, cake batter ... basically anything but chocolate! :)
For more education on Master Elites, visit this link below:
https://www.thesugarart.com/a/blog/how-to-get-bright-icing-colors
And if you try these Halloween Spider Cookies this year, be sure to tag The Sugar Art in your photos and videos! Below is a recipe from Holly's Great-grandmother (Holly is Ed's wife) and you will LOVE these cookies, guaranteed!
GRANNY'S PEANUT BUTTER COOKIE RECIPE
What you'll need:
INGREDIENTS
- 1 1/4 cup flour
- 1/2 cup of granulated sugar
- 1/2 cup packed brown sugar
- 1/2 cup butter
- 1/2 cup smooth peanut butter
- 3/4 tsp baking soda
- 1/4 tsp salt
- 1/2 tsp vanilla
- 1 egg
** Bake at 325 Degrees between 15-18 Minutes.
THE SUGAR ART PRODUCTS USED?
Master Elite Black and Orange (shop here) AND Black Pearl Edible Luster Dust (shop here)!
But you can also use our new ORANGE GEL COLOR!
Orange Gel Food Color
$8.00
Orange Gel Food Coloring For Cakes and Cookies This Orange Gel Food Color is incredible for your cakes and cookies! Achieve a vast array of beautiful orange colors from just one bottle of these gel colors in your icings, fondant… read more
Mastering the Perfect Peanut Butter Cookie Base
Creating the perfect peanut butter cookie is essential for these Halloween spider cookies. The rich, creamy texture of the peanut butter cookie base pairs perfectly with the sweet and spooky spider decorations, providing the ultimate balance between flavor and fun. But how do you ensure your peanut butter cookies turn out soft and delicious every time? Let’s explore some tips for mastering the cookie base.
Choose the Right Peanut Butter: For a balanced flavor, stick to regular creamy peanut butter. Natural peanut butter, which separates into oil and solids, may not blend well with the dough and can result in a crumbly texture. Brands like Skippy or Jif work perfectly for this recipe, offering smooth consistency and flavor.
Don’t Overmix the Dough: Once you’ve combined the wet and dry ingredients, it’s important to avoid overmixing the dough. Overmixing activates the gluten in the flour, which can result in tough cookies. Mix until the ingredients are just combined, ensuring a soft and tender texture.
Chilling the Dough: If you find that your dough is too sticky, chilling it for about 20-30 minutes in the refrigerator will help firm it up, making it easier to scoop and roll into balls. This step also prevents the cookies from spreading too much while baking, helping them maintain their shape.
Slightly Underbake for Softness: Peanut butter cookies can easily become too dry if they are overbaked. To achieve that soft, melt-in-your-mouth texture, bake the cookies until the edges are set but the centers are still slightly soft. They will continue to firm up as they cool, resulting in the perfect balance between chewy and tender.
Fun Customization Ideas for Your Halloween Spider Cookies
One of the best parts about making Halloween-themed treats is that you can customize them to fit your style, creativity, or even specific dietary needs. While the traditional version of these Halloween spider cookies includes a peanut butter cookie base and chocolate decorations, there are endless possibilities for how you can make them your own.
1. Switch Up the Cookie Base
- Chocolate Cookies: Instead of peanut butter cookies, you can opt for a chocolate cookie base, which will give your spider cookies a darker, more eerie appearance. Simply swap out the peanut butter cookie dough for your favorite chocolate cookie recipe.
- Sugar Cookies: If you prefer a milder flavor, sugar cookies can make a great alternative. You can still shape them into the spider web design, but the sweetness will provide a more neutral canvas for your spider decorations.
2. Different Flavors of Spiders
- Mint Chocolate Spiders: Add a hint of mint to your chocolate spider decorations by using mint-flavored chocolate or adding a few drops of mint extract to your chocolate melts. This will give your cookies a refreshing twist, perfect for those who love the combination of chocolate and mint.
- Candy Eyes: While chocolate chips work great for spider eyes, you can also use candy eyes to give your spiders a more realistic and fun look. These edible eyes are easy to find at most craft or baking stores during Halloween season.
3. Add Texture with Sprinkles or Sugar
Before baking, consider rolling the peanut butter cookie dough balls in granulated sugar or colored sprinkles. Black or orange sprinkles will enhance the Halloween theme, and the sugar adds a subtle crunch to the exterior of the cookie. This not only gives the cookies extra texture but also makes them stand out visually.
Decoration Tips for the Perfect Halloween Spider Look
The spider decoration is the star of the show with these cookies, and getting that perfect spooky look is easier than you might think. Here are some simple decoration tips to help you nail the spider theme:
1. Choosing the Right Chocolate
For the spider bodies, we loved using mini Reese's Peanut Butter Cups - to go with the peanut butter cookie theme. But you could also use melted chocolate or chocolate truffles work wonderfully. Or even chocolate-covered malt balls, or small chocolate candies to form the spider bodies. Be sure to attach the spider bodies while the cookies are still warm so that they adhere without additional melted chocolate.
2. Making Spider Legs
Piping the spider legs with melted chocolate or icing is a simple and effective way to give your spiders a realistic look. Use a piping bag with a small round tip to create eight skinny legs around each chocolate "spider body." If you're using chocolate, let the legs set at room temperature or place the cookies in the fridge to speed up the process.
Tipless Piping Bags (S or M)
$6.50
AWESOME PIPING BAGS ARE HERE! THIS LISTING IS FOR ONE SET OF 100 PIPING BAGS IN SMALL OR MEDIUM SIZE. PERFECT BAGS FOR ICING YOUR COOKIES OR CAKES! WHAT SETS OUR PIPING BAGS APART OF THE THICKNESS. IT'S THICK ENOUGH TO… read more
3. Using Candy Eyes
Candy eyes are an easy way to give your spiders a playful, cartoonish look. If you don’t have candy eyes, you can pipe tiny white dots of icing or melted white chocolate for the eyes and add small dots of chocolate or sprinkles for the pupils.
Alternative Ingredients for Dietary Preferences
If you’re making these Halloween spider cookies for a party or to share with friends and family, it’s important to consider dietary restrictions. Luckily, you can easily adapt this recipe to meet different needs:
Gluten-Free Option: Swap out the all-purpose flour for a gluten-free baking blend. Many gluten-free flours, like almond or oat flour, work well in peanut butter cookie recipes. Be sure to use a 1:1 gluten-free baking mix for the best results.
Dairy-Free Version: Replace the butter with a dairy-free butter alternative or coconut oil. Additionally, ensure that any chocolate used for the spiders is dairy-free. Many dark chocolates are naturally dairy-free, but double-check the labels.
Nut-Free Alternative: If you need a nut-free option, you can replace the peanut butter cookie base with a nut-free sugar cookie or chocolate cookie dough. For the spider bodies, opt for nut-free candies like chocolate wafers or non-nut-based truffles.
Storing and Serving Halloween Spider Cookies
Once you’ve baked and decorated your Halloween spider cookies, you’ll want to store them properly to maintain their freshness and delicious texture. Here’s how to store and serve your cookies:
Storing: Store the cookies in an airtight container at room temperature for up to 5 days. If you’re planning to store them for longer, you can freeze the undecorated cookies and then thaw them at room temperature before adding the spider decorations.
Serving: Serve your Halloween spider cookies on a themed platter or display them on a spooky dessert table for your Halloween party. To make the presentation even more festive, add decorative Halloween elements like spiderweb doilies, mini pumpkins, or faux spider webs around the cookie tray.
Wrapping Up
Halloween spider cookies are not only a delightful and spooky treat, but they also offer a chance to unleash your creativity in the kitchen. With a soft, chewy peanut butter cookie base and fun spider decorations, these cookies are perfect for Halloween parties, school events, or even a fun family baking night. With customization options, dietary alternatives, and easy decoration tips, you can make these cookies a truly unique and festive addition to your Halloween celebrations. So grab your ingredients, fire up the oven, and get ready to bake some deliciously spooky Halloween spider cookies!
For more delicious Halloween recipes and baking inspiration, follow along our blog or website, The Sugar Art to explore our full range of baking products, including vibrant gel colors, edible glitter, and more. Happy Halloween baking!
THANK YOU!
We appreciate your support so much and hope you enjoyed this video!
Be sure to follow along our journey!
Orange Food Color
$5.00
$9.00
OUR ORANGE FOOD COLOR IS A VERY VIBRANT ORANGE FOR YOUR CAKES AND COOKIES! MASTER ELITES ARE POWDER FOOD COLORS, INTENDED TO COLOR ROYAL ICING, FONDANT, BUTTERCREAM, MACARON BATTER, CAKE BATTER AND MORE! KEEP IN MIND, MASTER ELITES ARE NOT… read more
Black Food Color
$30.00
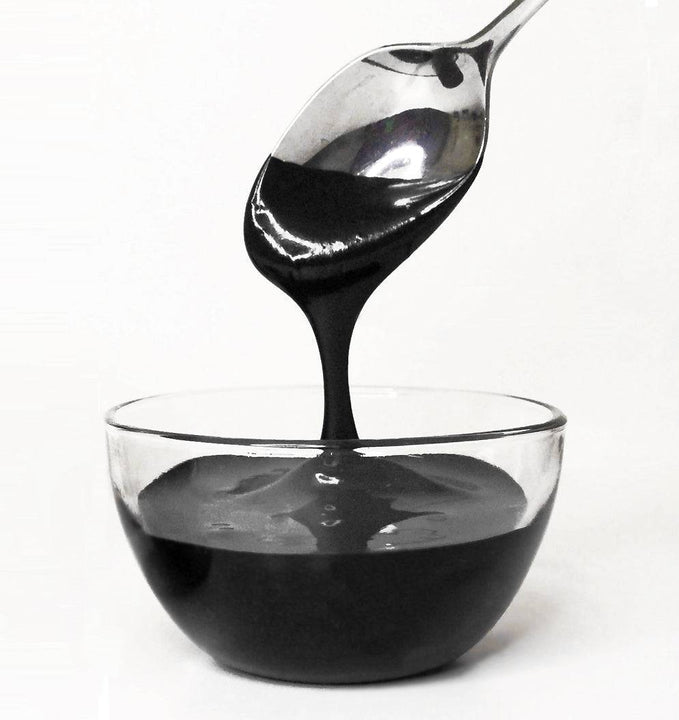
ACHIEVE THE TRUEST BLACK IN YOUR ICING USING OUR BLACK FOOD COLOR! MASTER ELITES ARE HIGHLY INTENSE POWDER FOOD COLORS. INTENDED TO COLOR HARD AND SOFT CANDY SUCH AS: ISOMALT, ROYAL ICING, FONDANT AND MORE! PRO TIP: WHEN USING MASTER… read more
Black Pearl Luster Dust
$7.00
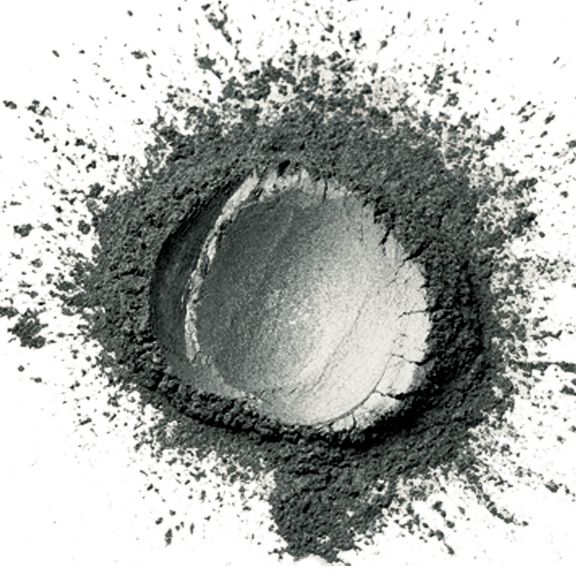
EDIBLE BLACK LUSTER DUST! DRY-DUST ON CAKES, COOKIES, CHOCOLATES & MORE FOR A GORGEOUS SHINE! ALSO MIX THE LUXURIOUS EDIBLE BLACK DUST WITH EXTRACTS & SPIRITS TO CREATE AN EDIBLE METALLIC PAINT! GRAB THE BEST PAINT BRUSH SET HERE! INCLUDES… read more

