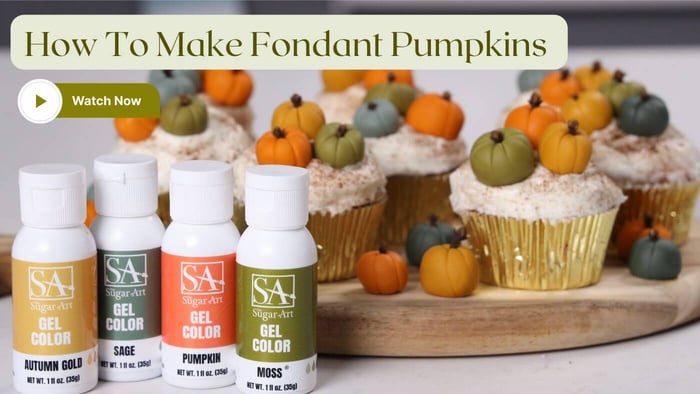
Today Ed is working with his Brand New Gel 2.0 Collection! He will teach you step by step instructions on how to make fondant pumpkins! These pumpkins will be perfect for cupcake or cake toppers!
Coloring Fondant
For many years we have taught how to use Master Elites in fondant. Well the good news, these Gels have the same POWER as Master Elites - but are already activated! Can you say - EXCITED?! Check out the hundreds of 5-Star Reviews we have both on the Original Gel Bundle and the Gel 2.0 Bundle (click here)!
One thing to note when using our Gel Colors, go very slow in adding your drops as they are up to 5x's stronger than all other gels in this industry! Colors will develop and deepen as they sit, too. What we always do is stop a shade lighter than the goal and let the icing sit under a wet towel for 30 minutes. Almost always the color has reached the tone we were going for and we used less Gel in the process!
These Gel colors are so powerful, one bottle should last you a long time. Plus, at $4 for a full 1oz bottle - that is a price that cannot be beat!
Shaping The Pumpkin
Once you have all of the colors completed inside of your fondant, follow these simple steps to shaping the pumpkins!
- Roll a small piece of fondant into a ball (wear gloves).
- Place the ball on your counter and press the back-end tip of a small paintbrush to create a divot.
- Take a sharp knife, and imprint 3 marks across the top of the divot, making 6-points.
- Using the 6 points as a guide, take your knife and follow all the way down to the base of the pumpkin, making long lines.
- Once all of your lines have been completed, grab a whole close and insert into the top of the pumpkin (this Will act as the "stem")
And that's it! Perfect little pumpkins.
Learn All About The Sugar Art Gel Colors from Ed Frys, Owner!
Full Tutorial HERE! (click to learn more!)
THANK YOU!
We appreciate your support so much and hope you enjoyed this demonstration on how to make fondant pumpkins! Be sure to tag us if you try any of our confections in all of your social media posts too! Click all links below to follow!